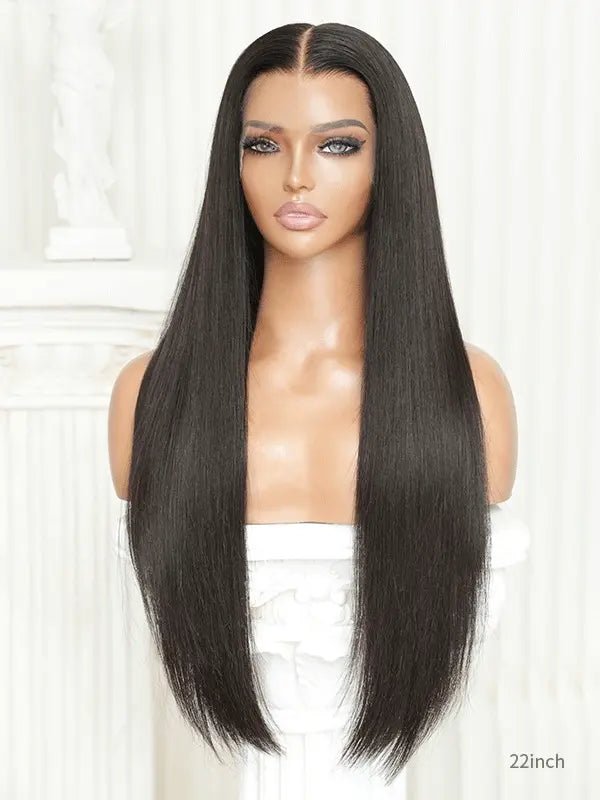
As a Black woman, we love a good lace front wig, so much so that we’ll try to make it ourselves.
Now, if you’re new to making your own wigs, this step-by-step guide on how to make a lace frontal wig at home is perfect to get you started.
You’ll want to follow these steps to ensure you get a wig with a natural-looking hairline that fits well and looks good.
Here’s our quick guide on how to make a lace frontal wig at home.
Things You’ll Need
First, here are all the items you need to get started.
- Frontal
- Hair bundles
- Foam head
- Hair needle and nylon thread
- Scissors
- Wig T-clips
- Spandex/dome cap
- Tweezer
- Elastic band

How to make a lace frontal wig at home
Before you get started, you’ll want to bleach the knots in your frontal if it’s not already done. Once you’ve done so, you’ll need to rinse out the bleach and wash the hair with shampoo and conditioner, and dry.
- Put the cap on the mannequin foam head.

- Place the frontal on the dome cap adjusting to get the right location.

-
T-pin down the frontal using the material as a guide. You don’t want to have any space under the frontal, so try your best to make it lay flat. Pullthe frontal forward so that the hairline of the frontal meets the cap.

- You can braid the hair out the way so you can see what you’re doing.

- Now sew the frontal to the cap ensuring that it stays flat as you do so.

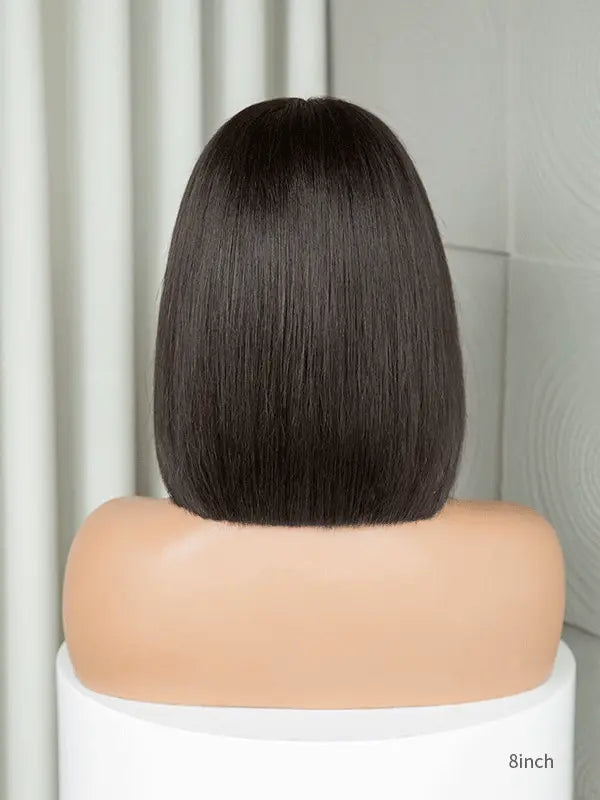
- Lay the tracks using the edge of the cap as a guide, starting from the back. You can use a finger width apart and continue until you’ve filled the cap.

- Flip the wig inside out and cut off the remaining part of the cap and any excess lace.

- Sew the elastic strap on each side on the inside of the wig. Try not to make it too tight.
- Put the wig back on the mannequin head and pluck throughout the hairline using the tweezers to mimic your own natural hairline.

- Style your wig.
Things to Note
- The wig cap should be sized appropriately for your head. So, make sure you get the right size before you start. And pick a silk cap which is more beneficial to your natural hair.
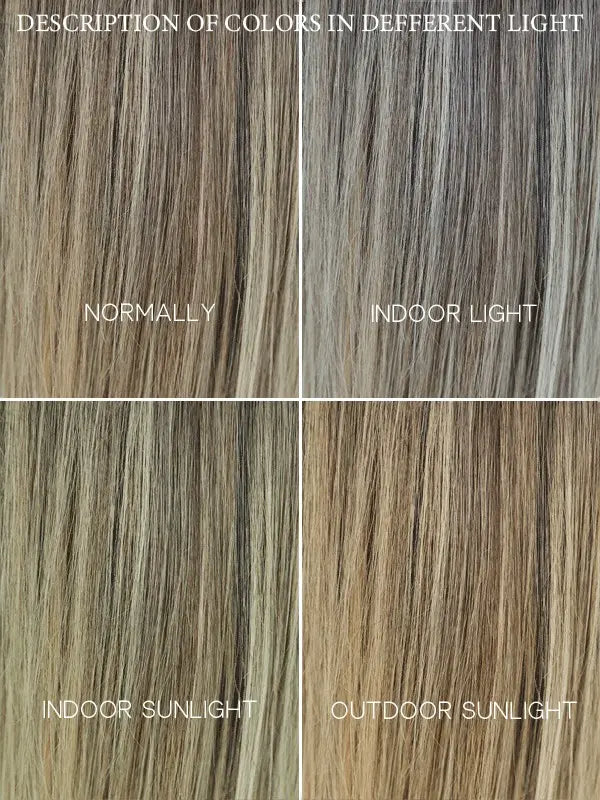
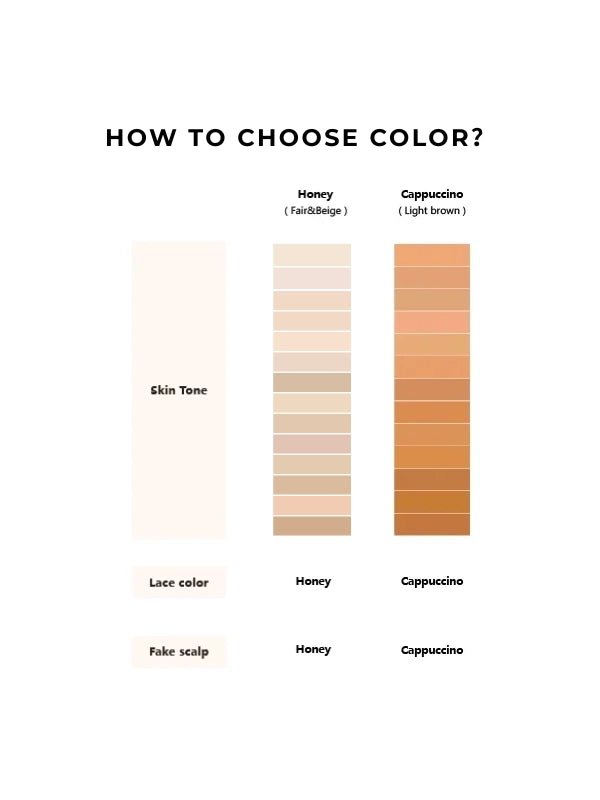
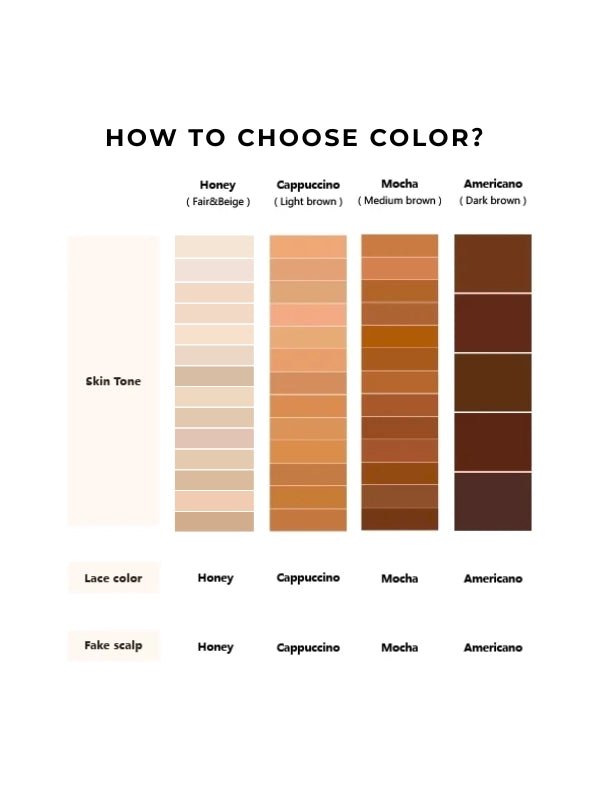
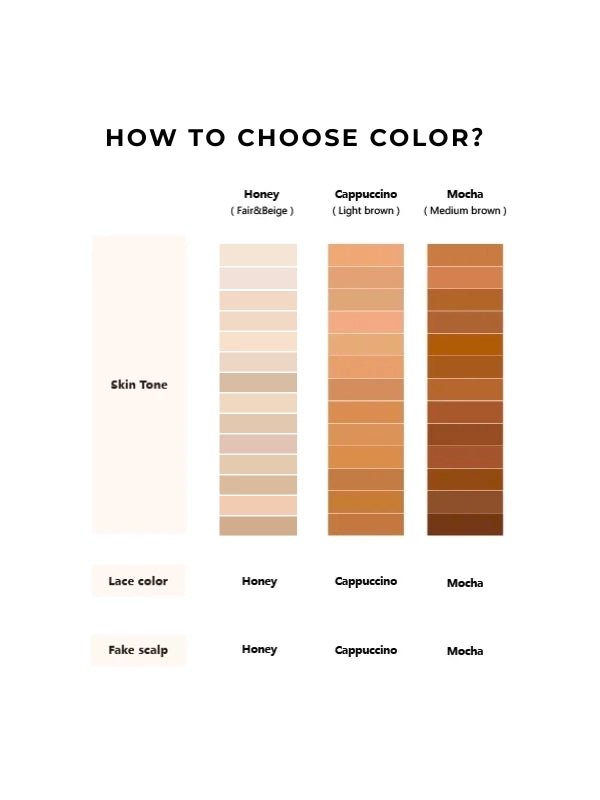
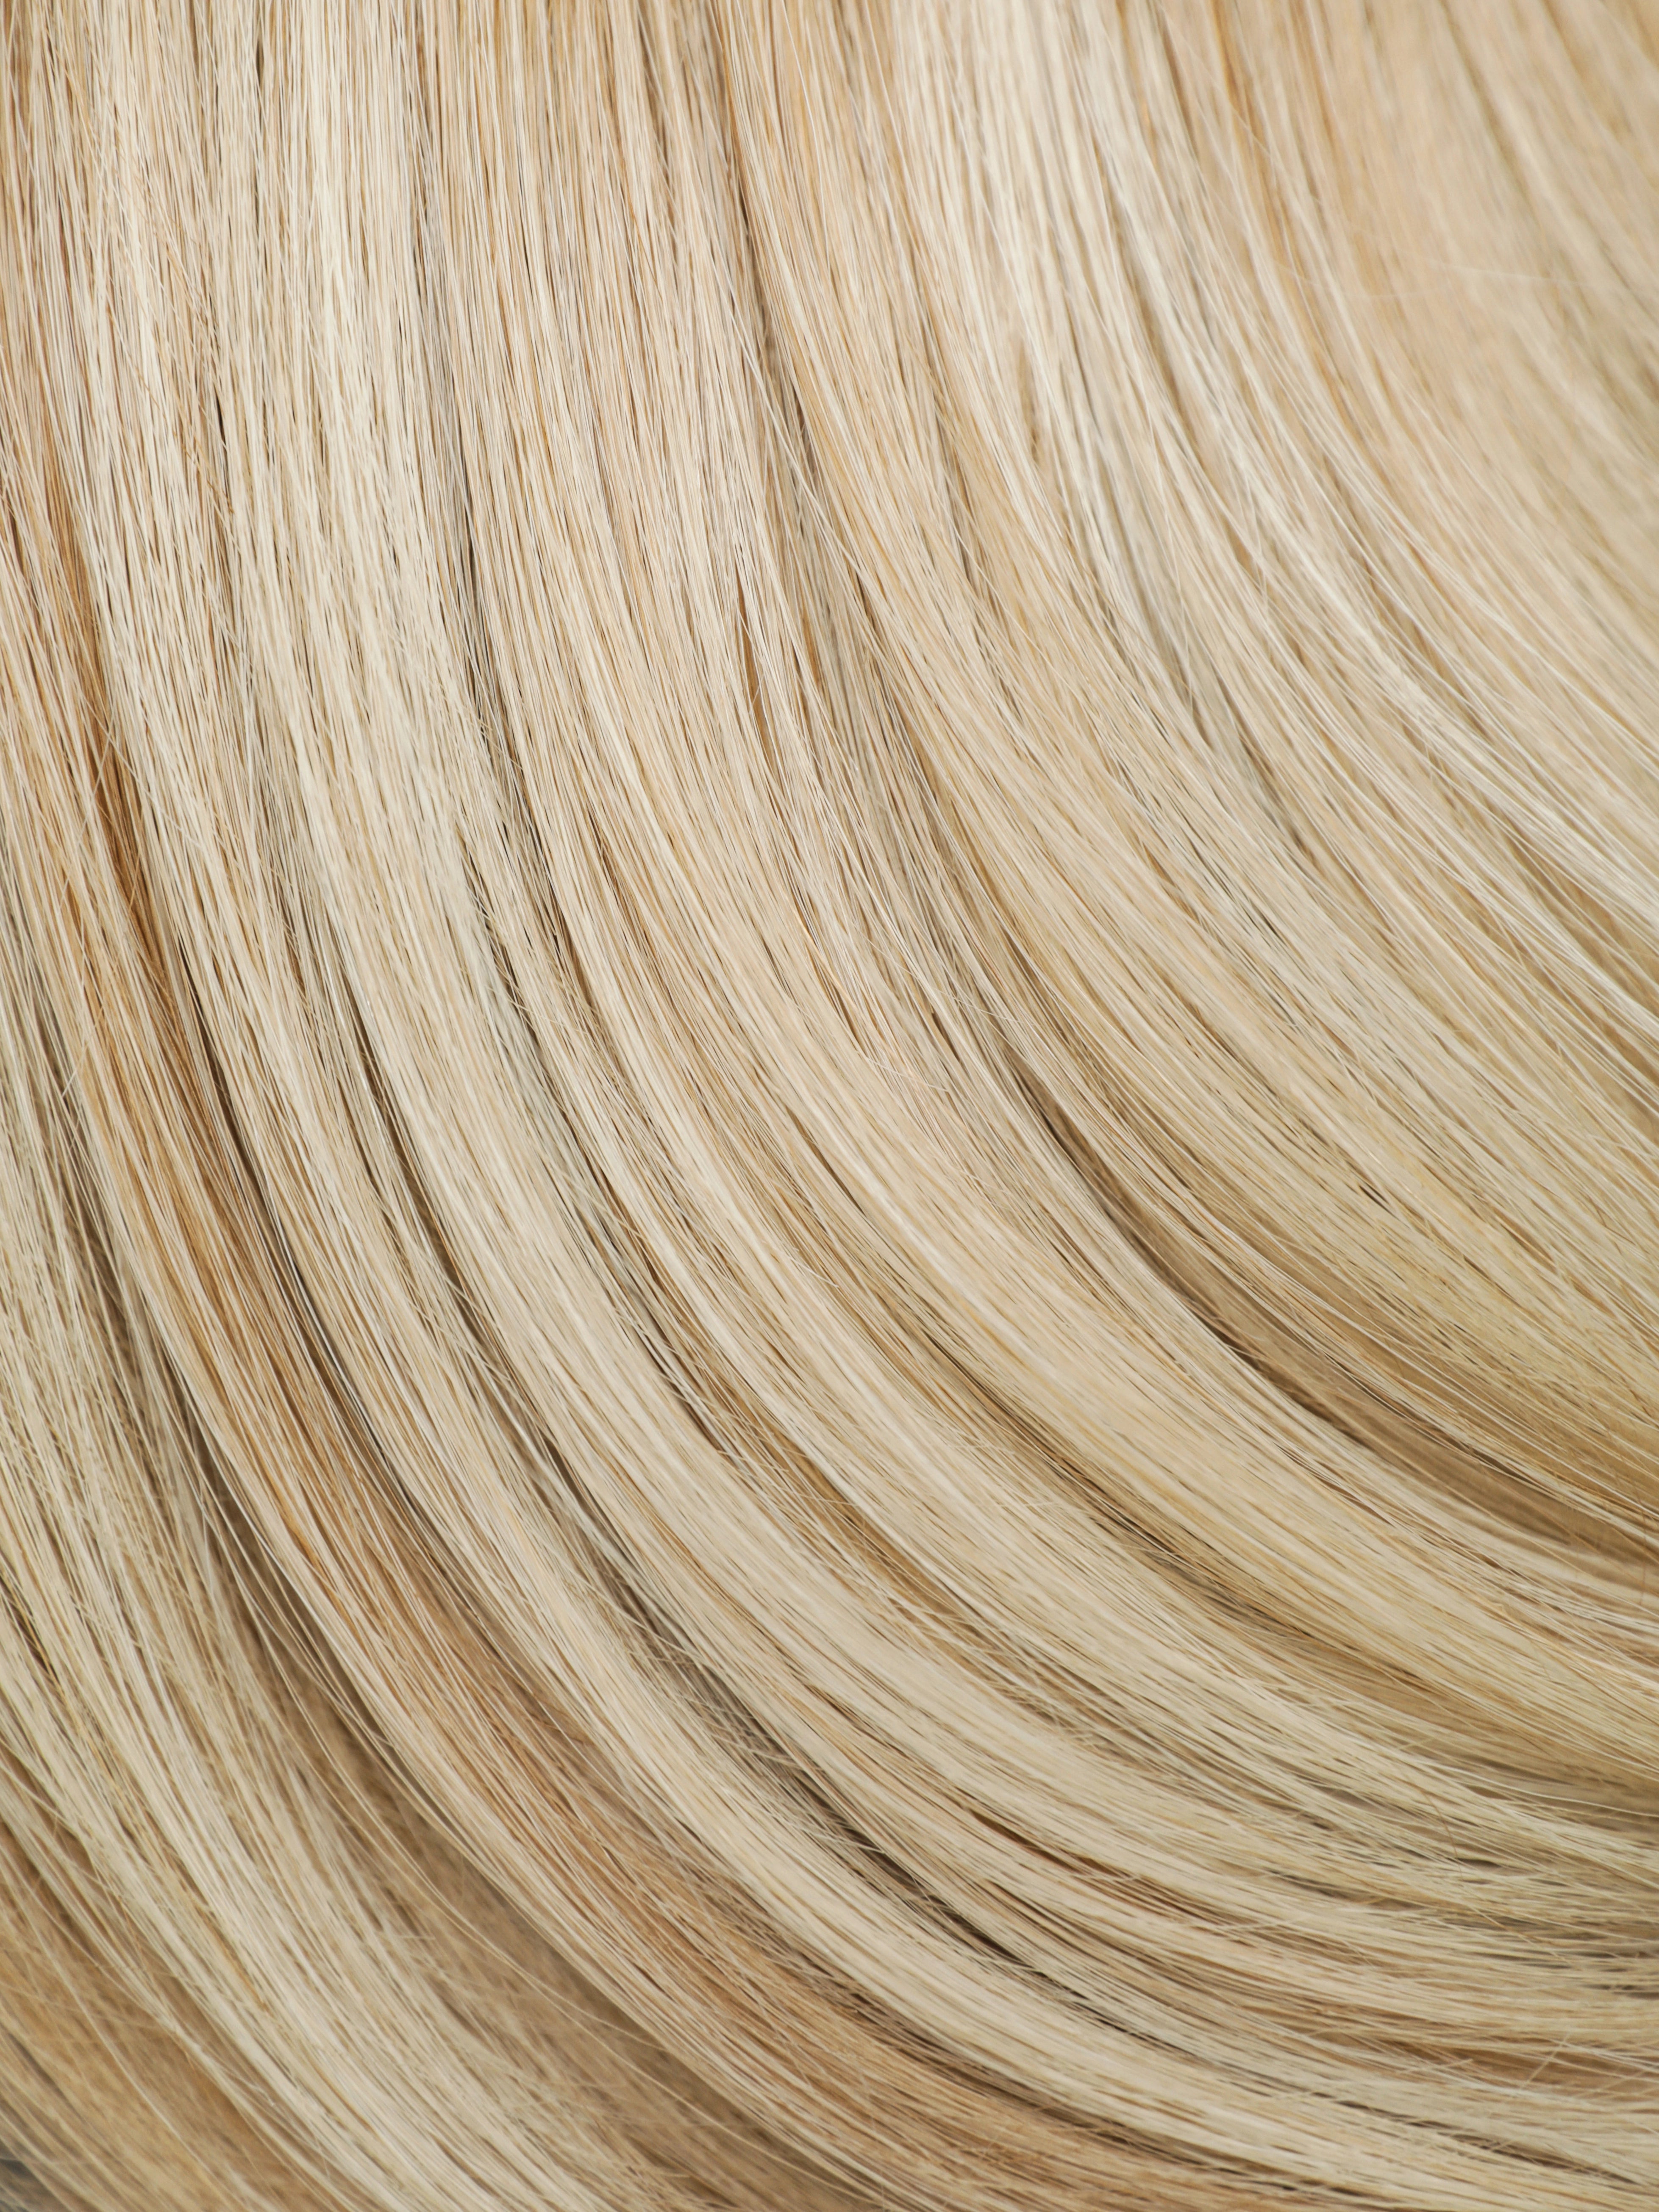
- There are different color laces, so try and get a lace that’s as close to your skin tone as possible.
- Double your thread, knot the ends, and get sewing using the loop and pull method. Doubling the thread ensures your wig has sufficient pressure holding down your tracks.
FAQs
Let’s get into some frequently asked questions about making your own lace front wig at home
How long does it take?
It depends. If it’s your first time, then it can take a while to complete, especially if you need to bleach the frontal beforehand. For someone who is a bit more experienced, they can take an hour to a few hours to get it done.
How many bundles should you use?
Three to four bundles are generally enough for a wig.
How to choose the right hair for the homemade wig?
You’re going to need to pick raw bundles of high-quality hair. You may also find that the vendor labels it as bulk or loose hair. What you want is hair that you won’t need to cut off from the weft.
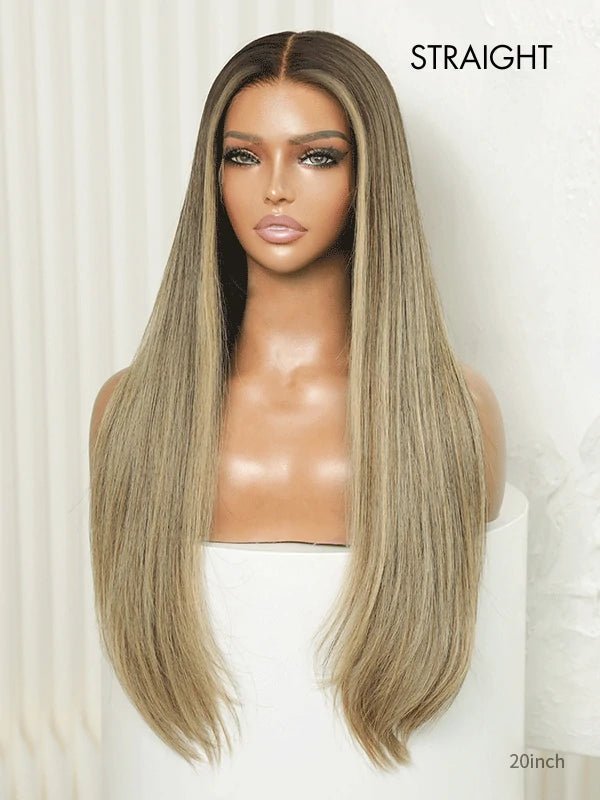
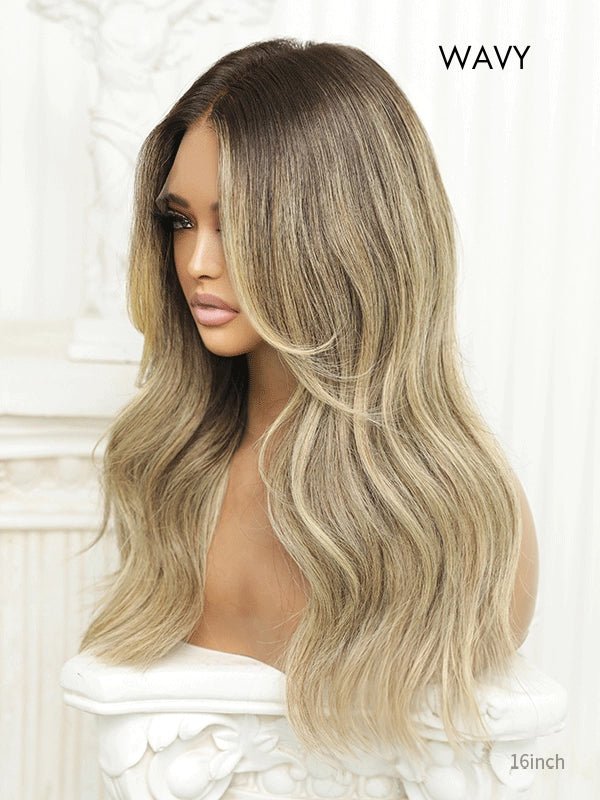
The style you choose is based on what you’d like the final wig to look like, e.g., straight, curly, wavy.
How to choose the correct lace for the wig?
What you choose depends on the intended use. For example, for everyday use, you’ll want a thicker lace. (You can get a lace book that allows you to see and feel the different types of lace if you plan on making a lot of lace).
Pros and cons of making your own lace front wig
Pros of making your own wigs at home
- Cost: This is one of the most cost-effective methods of owning a high-quality wig. Bundles are often cheaper to buy than a full wig unit, especially lace front.
Cons of making your own wigs
- Time-consuming: You may need to bleach the knots yourself and pluck the hair. If you’re new to making wigs you’ll need to practice a bit before you try it out on the more expensive hair.
- Can get technical: You’ll need to learn how to bleach the knots and pluck the hair to make it look as natural as you can. If the tracks aren’t laid right, it can look bulky on the top.
So, what can you do if you don’t want the hassle of trying to make your own wig?
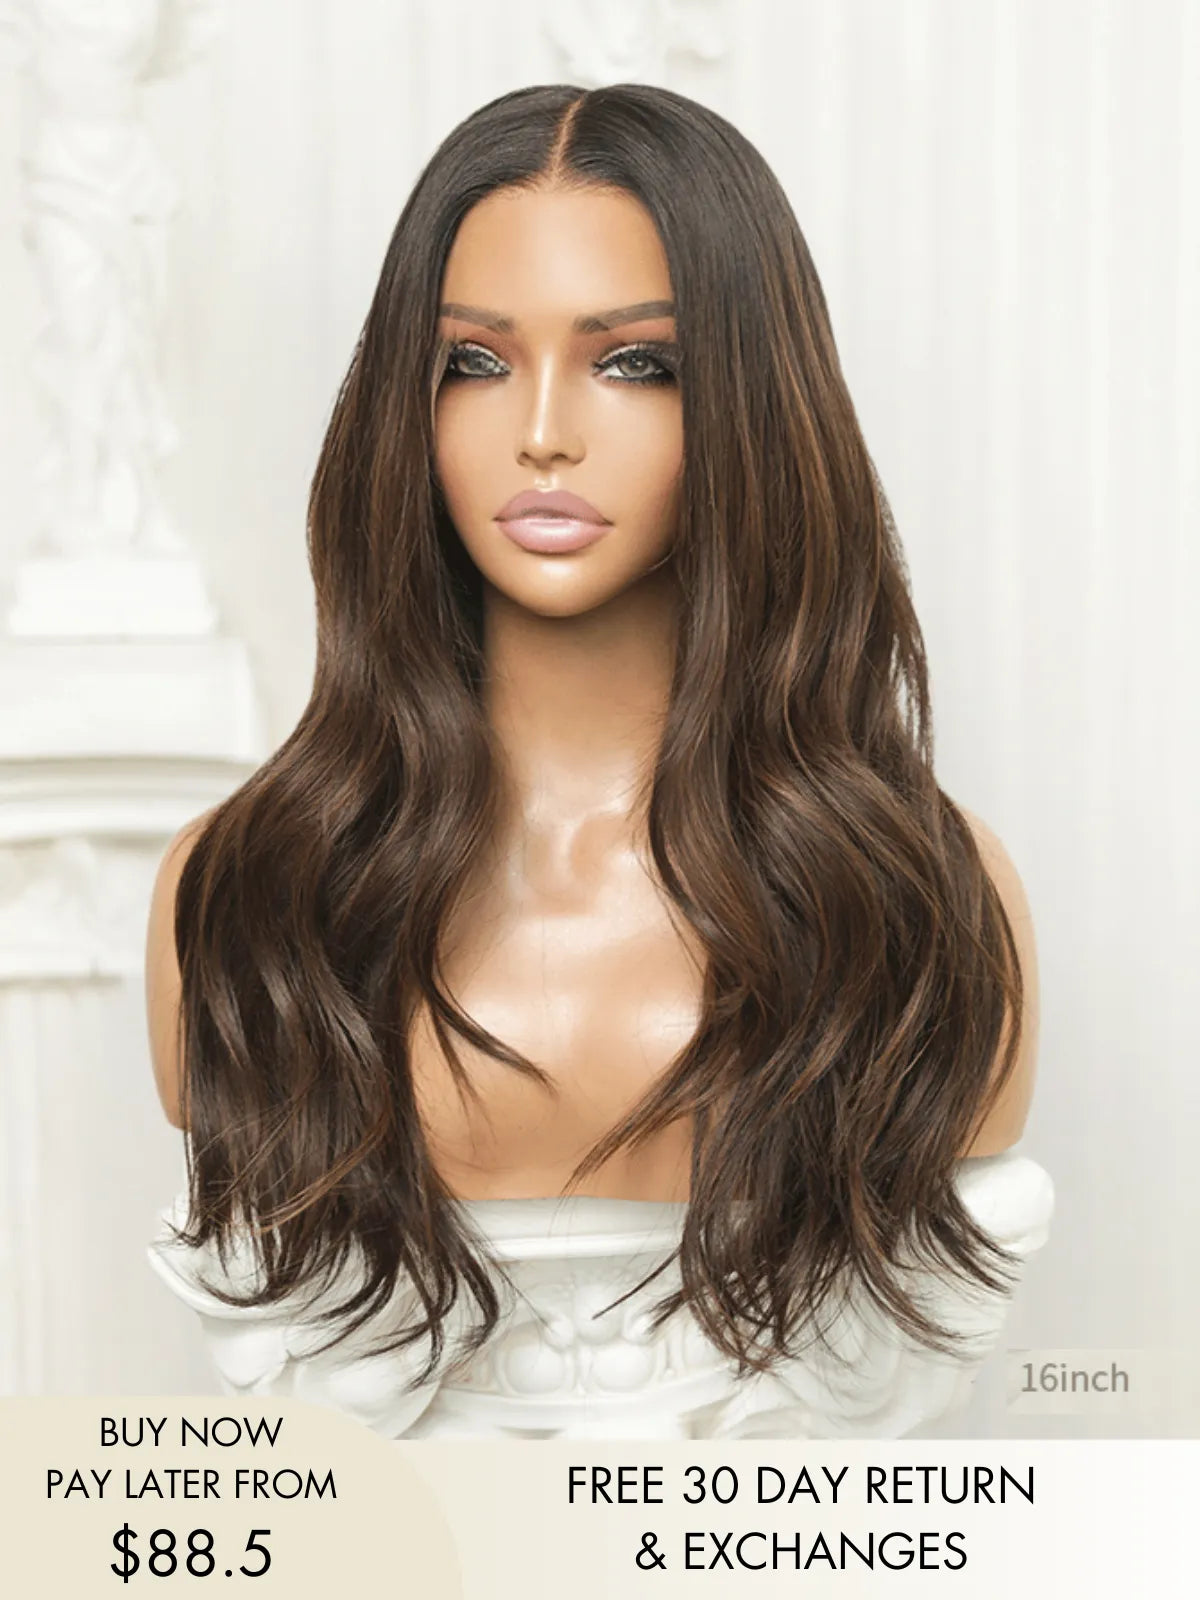
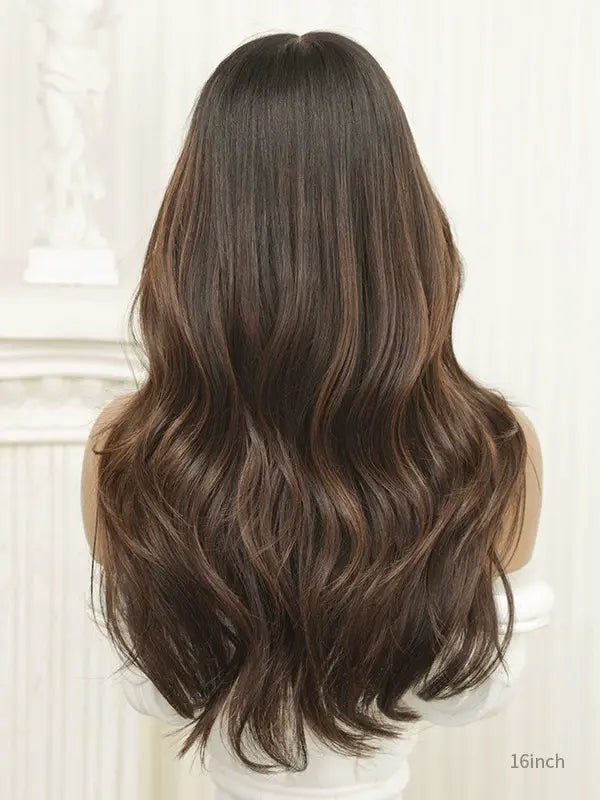
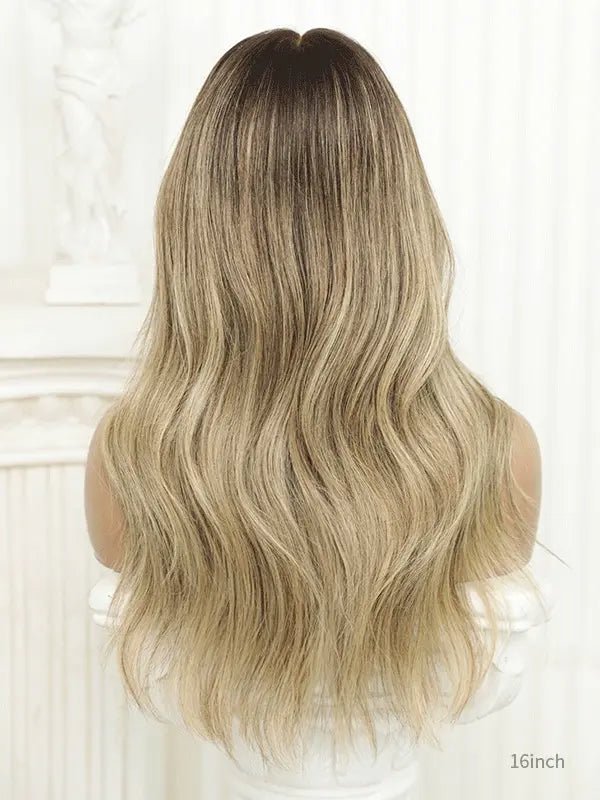
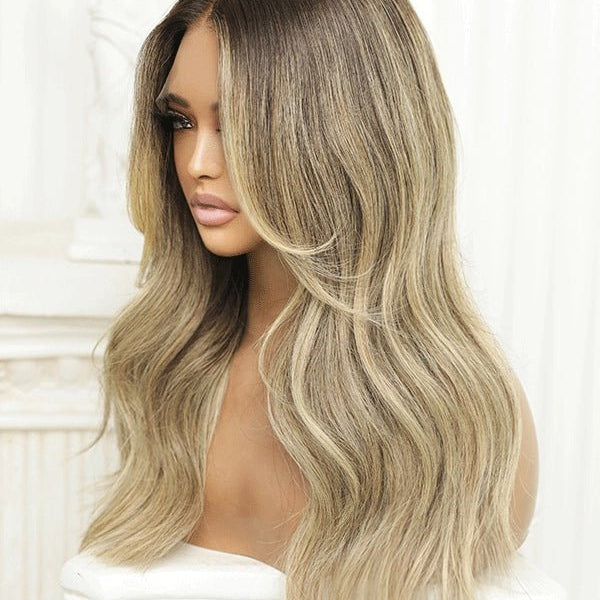
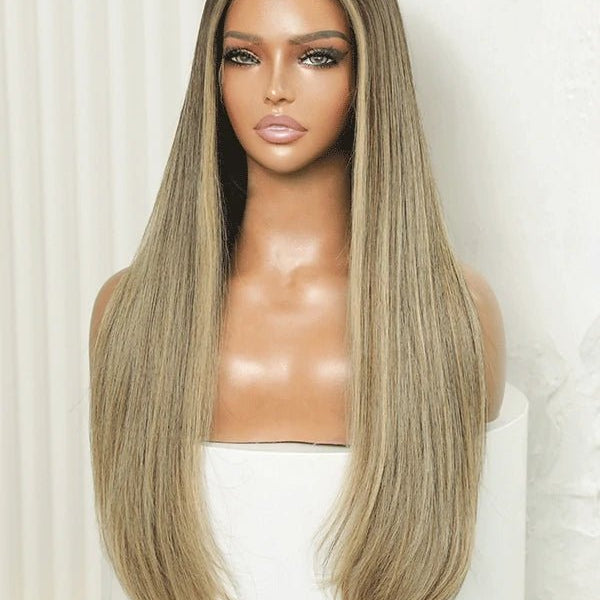
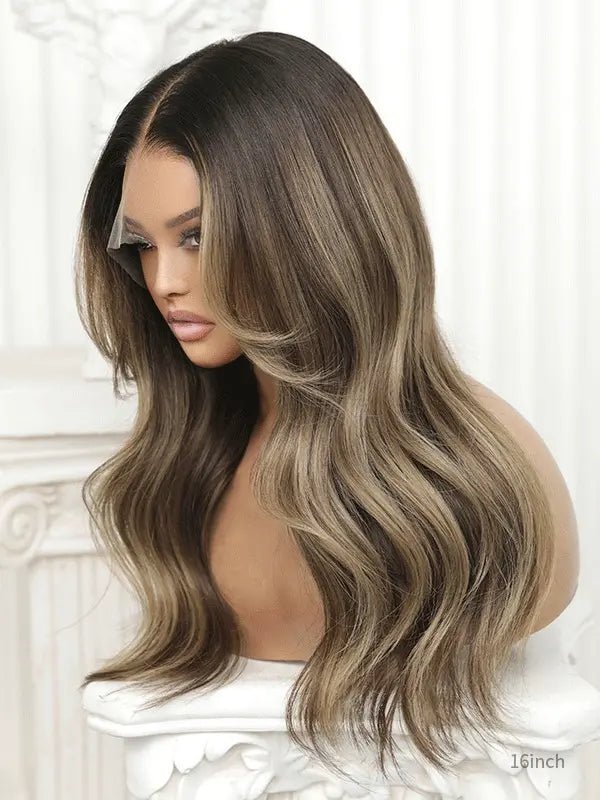
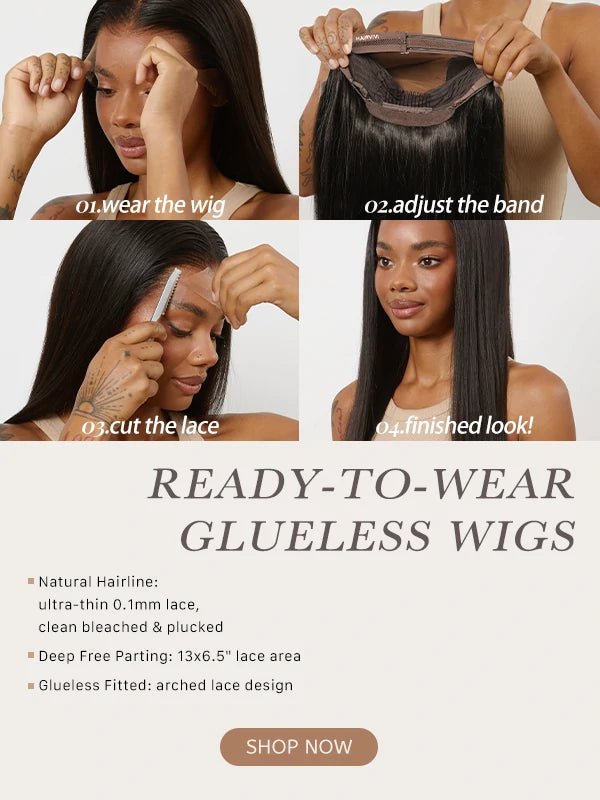
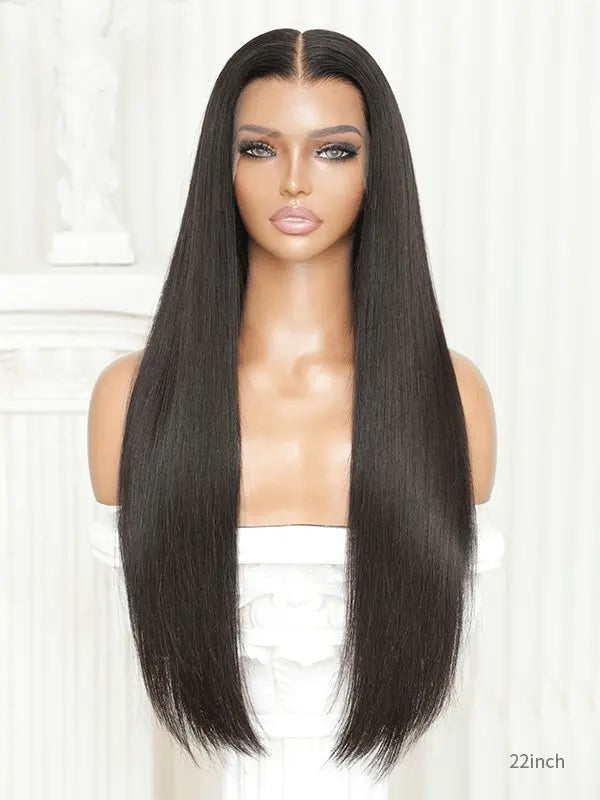
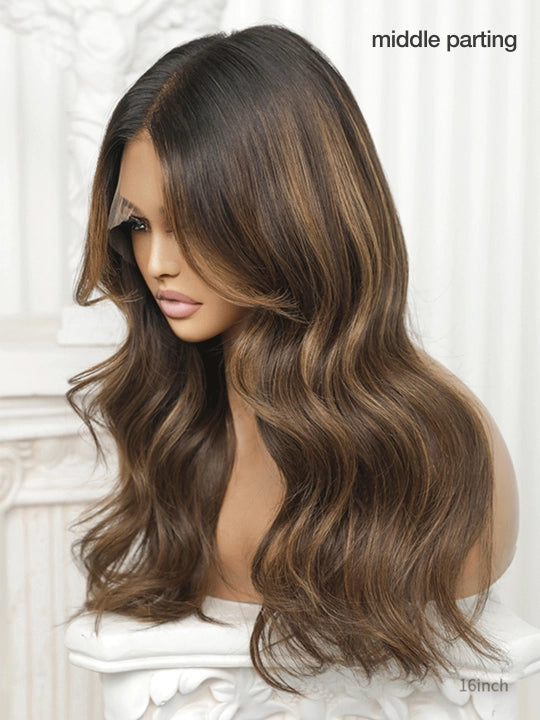
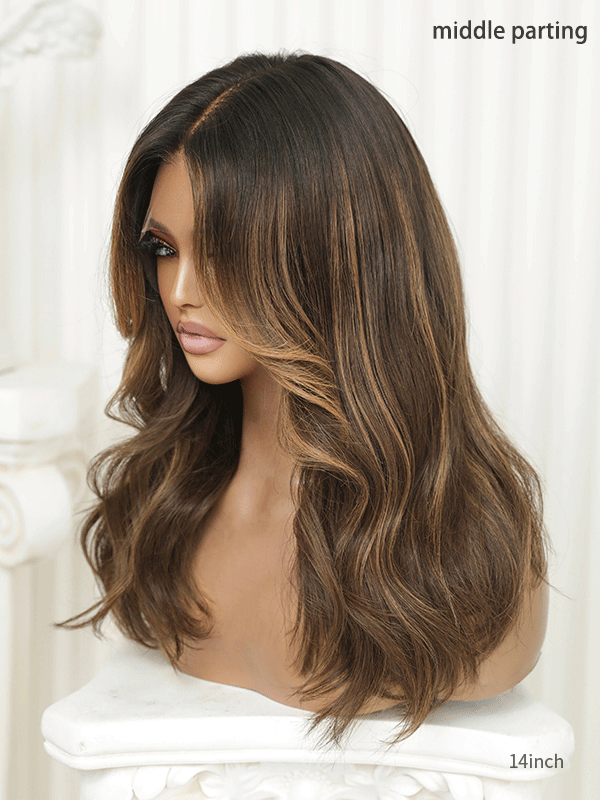
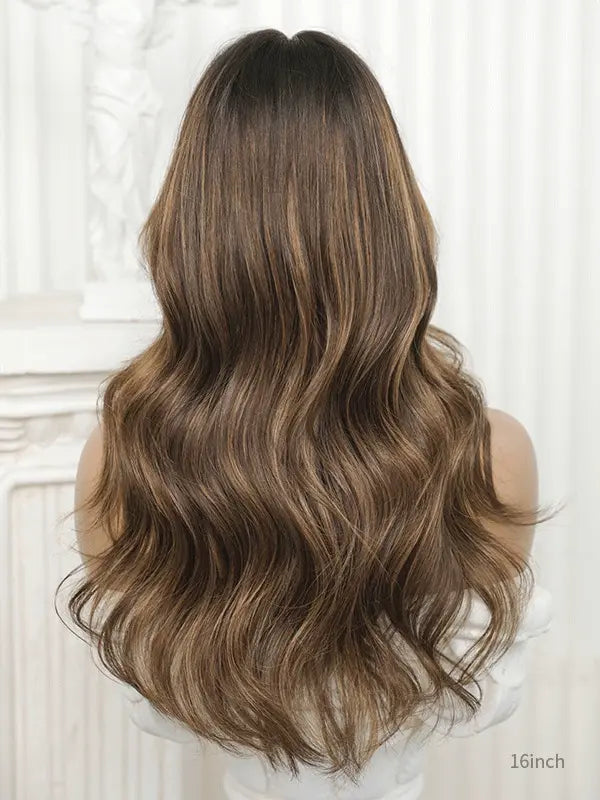
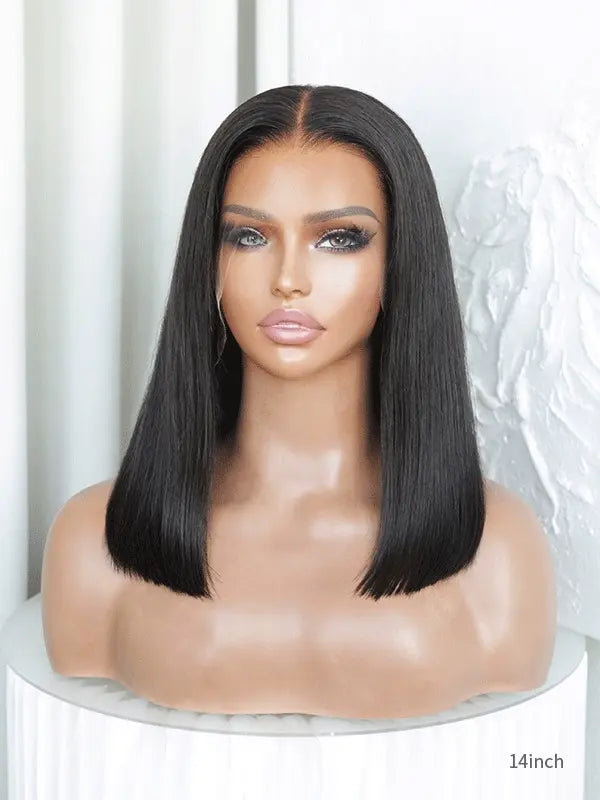
An alternative to making your own wig – the Hairvivi 4-in-1 lace front wig
If you want to avoid the hassle of making your own cap, figuring out how to bleach knots and pluck your wig hairline, then you should try a Hairvivi 4-in-1 lace front wig. Plus, our wigs come with an adjustable piano keys elastic band already built-in.
This four-in-one system takes care of everything you’ll need to address in a wig.
- Invisi-scalp so you don’t need to worry about what type of lace to use

- Deep parting so you can style as you like

- Piano keys elastic band to secure the wig

-
Pre-bleached and pre-plucked to reduce the work to prepare your wig just right.

So, it’s basically, get it and install. No additional work necessary.
They’re perfect for beginners and loved by the pros. Check out our Hairvivi 4-in-1 lace front wigs and get that natural look without the work.